Friendship bracelets are a classic craft you want to make yearly. This simple article will teach you everything you need to know about making friendship bracelets, whether you enjoyed making them as a child or are learning to make them for the first time. So, how to make a 4-string bracelet?
Making friendship bracelets is an enjoyable do-it-yourself craft because it is simple to learn, portable, and easy to share with friends. Undoubtedly, this is one of those “rites of passage” activities we all participate in at sleepovers and summer programs.
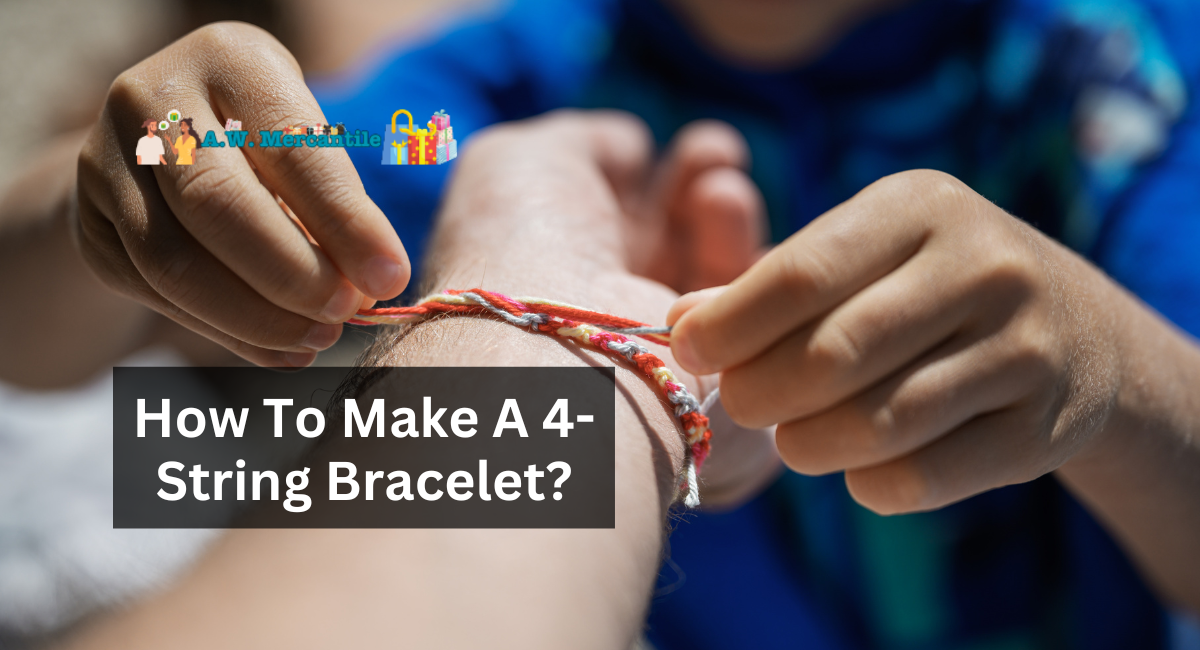
How To Make A 4-String Bracelet?
If you have accomplished a 3-strand braid and are looking for a challenge, add a fourth strand! Once you master working with four strands of yarn, ribbon, or leather, you will be astonished at how simple it is to create a braid that appears intricate. Create a one-of-a-kind bracelet by creating a four-strand flat or round plait in multiple colors and then wrapping it around your wrist.
Gather Your Supplies
- Embroidery floss or string
- Clipboard, safety pin, or tape for masking
Instruction To Make A 4-String Bracelet
Here are the two method for making a 4-string bracelet:
Method 1: Weaving A 4-Strand Flat Bracelet
1. Cut 4 Equal Strands Of Cord Or Yarn. Wrap a fabric measuring tape around the circumference of your wrist and record the measurement. Then, trim four strands of twine or string approximately 2 inches (5.1 cm) longer. It will accommodate for weaving and tying the bracelet’s ends. You may use two or three strands for each braid’s primary strand when braiding thin thread.
- It may be simpler to master braiding with at least two colors. After gaining familiarity with 4-strand braiding, you could use only one color.
2. Tie 1 End Of The Strands Together And Tape Them To A Flat Work Surface. Approximately 1 inch (2.5 cm) from one end, bind the four strands into a knot. Position the yarn strands flat on a table and tape the end to keep them in position. Then, separate the strands so that they extend outward.
- If you prefer not to tape the yarn, try pinning the yarn strands in position. It would work best if you were working on a flatboard or corkboard.
3. Braid the outer strands towards the center. Take the rightmost yarn strand and cross it over the adjacent yarn strand. Pinch the two middle yarn strands together and pass the yarn strand on the leftover them.
- Maintain a taut tension as you braid so your bracelet does not unravel.
4. Bring The Right Strand Over 1 And Lift tThe Leftmost Strand Over 2 Strands. Repeat the previous steps while maintaining tension on the strands so that the braids are visible. Move the rightmost strand across the adjacent strand, then bind the two middle strands together. Then, cross the leftmost strand over the others.
- Remember that when braiding from the right, you work over a single strand; when weaving from the left, you work over a double strand.
5. Keep Braiding The Outermost Strands Until You Reach The End Of Your Yarn. Stop braiding when you are approximately 1 inch (2.5 cm) from the bottom. Maintain the same tension as you proceed from the top to the bottom of the yarn. For instance, do not begin extremely taut and then loosen as you approach the end of the string; otherwise, the bracelet will be uneven.
6. Tie The Bottom End Of The Braid. When you are approximately 1 inch (2.5 cm) away from the end of the yarn, cease braiding and pinch the yarn strands together. Make a solid knot with the string. Then, remove the tape from the braid’s uppermost end.
- Leave the excess yarn on the ends of the plait to be tied into a bracelet.
7. Wrap The Braid Around Your Wrist And Tie The Ends Together. Since securing a knot with only one hand can be challenging, ask a friend to tie the knot for you. Before sliding a long bracelet onto your wrist, you can book a knot at the ends of a long bracelet.
- If you create an oversized bracelet, it can be worn as an anklet.
Method 2: Creating A 4-Strand Round Bracelet
1. Cut 4 Cord, Leather, Or Thick Yarn Strands Into Equal Lengths. Add at least 2 inches (5.1 cm) to the measurement by wrapping a flexible measuring tape around your wrist. According to the new measure, cut your firm material, such as cord or leather, into four equal sections.
- Although you can use dense yarn to create a round bracelet, leather or cord are more durable.
2. Gather 1 End Of The Strands In A Knot And Tie It To Your Work Surface. Hold the four sections together near one end and tie a knot approximately 1 inch (2.5 cm) from the end. Then, set the knot on the table and adhere a piece of tape over it to prevent it from moving. Separate the four strands so that they radiate away from one another.
- If you are utilizing two colors, alternate them when arranging the strands.
3. Wrap The Left Strand Around And Through The 2 Middle Strands. Bring the leftmost strand underneath the two central strands. Take it up between the two strands and then down again.
- As you work, tug on the strands so tension shapes the round plait.
4. Wrap the right strand around and between the 2 middle strands. You will have four strands in front of you, but you will notice a subtle twist near the top of the middle two. Wrap the rightmost strand underneath these two central strands. Bring it around before placing it between them.
- You may use your non-dominant hand to hold the two middle strands in position while using your dominant hand to hold the working strand.
5. Continue To Braid With The Leftmost And Rightmost Strands. To create the round braid, continue bringing an outer strand under and around the middle strands, then pull tightly. Continue braiding until the strands are approximately 1 inch (2.5 cm) from the bottom.
- Remember to alternate braiding the leftmost and rightmost strands to prevent your braid from unevenness.
6. Make A Knot When You Reach The End And Tie The Bracelet Around Your Wrist. At least 1 inch (2.5 cm) should separate the knot from the underside of the strands. After removing the braid from the tape, wrap it around your forearm. Tie a knot with both ends of the plait to prevent it from slipping off your wrist.
- If you cannot bind the bracelet independently, ask a friend for assistance or tie it before sliding it onto your wrist.
Crafting a 4-string bracelet is a creative and enjoyable activity. With a few simple materials and a little patience, you can create a one-of-a-kind accessory that reflects your style. Not only do these bracelets make delightful presents, but they also serve as tangible reminders of your craftsmanship and originality.
Thank you for reading…..