There is no need to spend money on pre-built boxes, whether you’re transporting Christmas gifts or replacing an old Scrabble box. You can assemble boxes of the ideal size for your undertaking out of cardboard scraps. When transporting or storing heavy items, corrugated cardboard is the finest material. So, how to make a cardboard gift box?
Gather Needed Items
- Cardboard
- a pair of scissors
- The ruler
- a utility knife, a bone folder, and an empty ballpoint pen
- Wrapping Paper (optional)
- Tape
- Glue
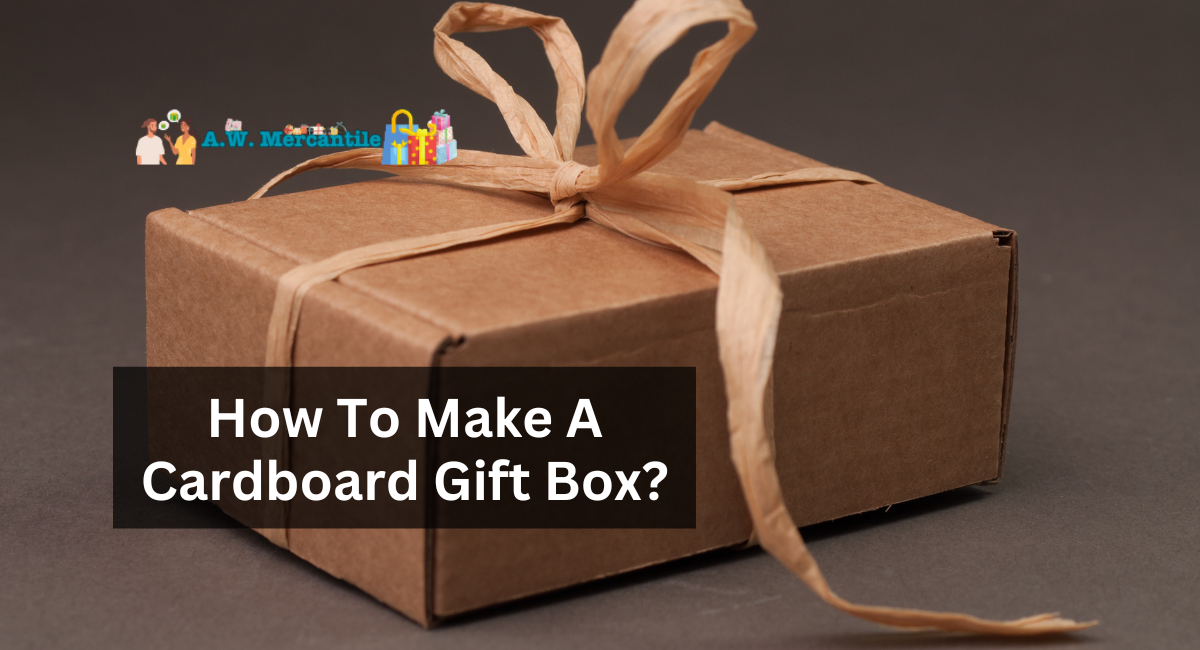
How To Make A Cardboard Gift Box?
Here are the two method to make a cardboard gift box:
Method 1: Making A Cardboard Box
1. Choose your cardboard. You can use the side of a cereal box to create a home-use receptacle. For a more durable project, use corrugated cardboard or create a larger, decorative box from scrapbooking Paper or cardstock. If you have a particular box dimension in mind, cut the cardboard accordingly:
- A piece of cardboard produces a square box with sides that are one-fourth the original length. For example, a 3″ x 3″ box can be constructed from a 12″ long piece of cardboard.
- The cardboard’s breadth determines the box’s height, bottom, and lid. If you want to create a 3″ x 3″ box out of a 12″ x 9″ inch of cardboard, for example, you will use 3″ of the width to form the bottom and top, and the remaining 6″ will comprise the box’s height.
2. if desirable, embellish the dish with embellishments. It is easier to trim the box before cutting and folding it. Use wrapping Paper approximately half an inch (1.25 centimeters) more prominent on all sides than the cardboard. Address the wrapping paper to the cardboard using a solid adhesive, then fold over the edges and attach them to the opposite side.
- To prevent Paper from wrinkling or bubbling, apply a small amount of adhesive and then smooth the Paper.
3. Close to one margin of the cardboard, draw a line. It creates a small “glue flap” that you will later glue over to help secure the box’s four sides together. For a large shipping box, the glue flap can be as broad as 2 inches (5 cm), while it can be as narrow as 14 inches (6 mm) for a tiny art project.
4. The remaining length is divided into four sections. Ignore the adhesive flap when determining the cardboard measure using a ruler. Apply the ruler as a straightedge to draw straight lines through these marks. It should divide the cardboard into four equal parts, serving as the box’s sides.
- Use sections with two distinct measurements to construct a rectangular box instead of a square one. To build a 4″ x 2″ box, for example, divide the board into a 4″ section, a 2″ section, a different 4″ section, and another 2″ section, in that order.
5. Score the lines if the cardboard is dense. Press along the newly drawn lines with the ruler to facilitate folding. Use a utility knife with minimal pressure on extra-thick materials, such as corrugated cardboard. Utilize a bone folder or an unfilled ballpoint pen for medium-weight materials, such as poster board.
6. Bend the sides. The sides are pleated from both ends to form an unfolding bundle. It makes folding the Paper easier in the future.
- Assemble a box by bending dense material with the cut score facing outward. You can rotate medium-weight materials in either direction.
7. Draw the openings so that they are perpendicular to the sides. The distance between two lines (the length of one box side) is divided in half. Measuring this distance from one edge of the cardboard, draw a horizontal line across the creased lines at this point. Measure the same distance from the other edge and draw a second line.
- For example, if you make a 3″ x 3″ container, divide 3″ by 2 to get 1.5″. Arrange the Paper’s creases so that they are vertical. 1.5″ from the bottom edge, draw a horizontal line, and 1.5″ from the top edge, draw a second horizontal line.
- If your box is not square, you can utilize either side for this calculation. Using the lengthier side will strengthen the box’s base and lid. Using the shorter side will result in a taller but weaker box.
8. Cut each flap. Until you reach the horizontal “flap” lines, cut along the vertical “side” lines. You should now have four flaps along the top and four along the bottom.
- Use the same scoring and creasing techniques as before if using thick cardboard.
9. Fold and tape all the four sides together. Fold all four sides to form the box’s frame. Fold the narrow adhesive flap over the side’s edge and secure it with tape or glue.
- Ensure that you are applying the adhesive to a dry, moisture-free surface.
- You can use a table fan or hair dryer to expedite the adhesive drying.
10. Fold the base of the box. Tuck the pleats on one side so each flap overlaps the adjacent flap. Tape this base for support.
- If you are storing lightweight items, you can seal the flaps without attempting to tuck them in. Tape the inside and outside of this simple fold to prevent the flaps from jutting out.
11. Tuck the top flaps together. Tape the top if you are constructing a decorative box or transporting something inside. Otherwise, leave them curled together to facilitate opening.
12. Finished.
Method 2: Combining Two Cardboard Boxes
1. Choose two boxes of equal size. You can combine two standard cardboard cartons if you need to ship or store a considerable item. The two crates will be stacked, so ensure each is at least half as tall as the item you intend to keep. You may use store-bought cartons or create two templates using the above guidelines.
2. Assemble the first box. Securely tape the base, but leave the top uncovered.
3. Tape the upper flaps into an upright position. Extend the height of the box sides by erecting each flap atop the box. Tape the panels to keep them in place.
4. Open the bottom of the second carton and assemble it. As with the first box, tape the upper flaps of the second box in a vertical position. Leave the base openings available for the time being.
5. Tape the two boxes together. Place the second box upside-down on top of the first, with the flaps overlapping. Join the two sets of flaps with tape or adhesive.
6. Pack the box. The open “base” of the second box now serves as the roof of the taller box. Insert the object and packaging materials through this opening, then seal the box with tape.
7. Finished.
Creating a gift box from cardboard is a gratifying DIY project that adds a personal touch to your gift-giving. You can make a box that reflects your creativity and consideration by recycling materials and following a few straightforward steps. This modest gesture elevates the act of providing and makes your gifts even more special.
Thank you for reading…..