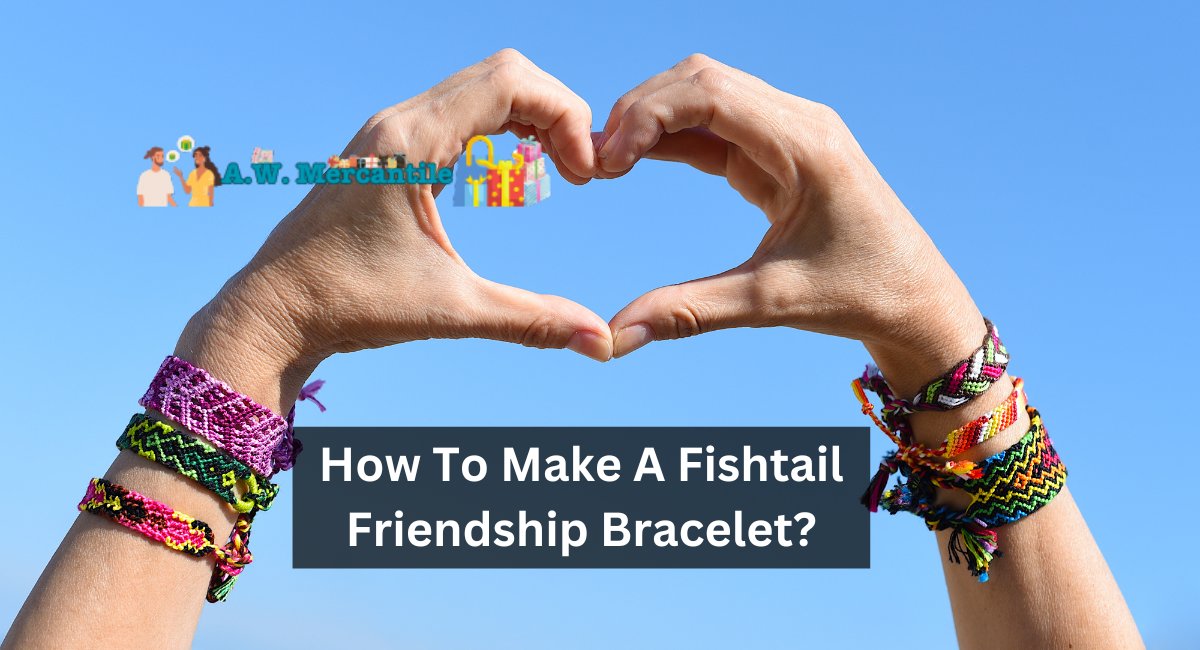
Friendship bracelets were a defining feature of my upbringing. They always remind me of summer camp, lake days, and making crafts with companions while laughing. It’s always possible to continue producing these! A friendship bracelet makes a beautiful gift with an individual touch, or you can make a single for yourself because it looks fantastic. So, how to make a fishtail friendship bracelet?
This pattern consists of a multicolor fishtail braid. You may have previously styled your hair in a fishtail plait. This concept is similar, with slightly more intricate knots and more organization. The fishtail braid is much simpler and quicker than the bracelets I grew up making with macramé knots. This task should take approximately 30 to 45 minutes.
Material Needed
- wax string
- a pair of scissors
- A fire (candle or lighter)
- the ruler
- Beads (optional)
How To Make A Fishtail Friendship Bracelet?
Here are the steps to make a fishtail friendship bracelet:
1. Select The colors You Want To Use.
The fishtail braid creates a beautiful V-shaped pattern. The pattern looks best when you use five to seven distinct colors, making it much simpler to follow the way. However, you may choose whatever colors you like. This bracelet is composed of four sections:
- Main Fishtail
- End Cap
- Drawstring tails.
- Sliding Knot Closure
Choose any color you desire for each segment. I purchased a large quantity of wax string in a variety of hues, thereby expanding my options. You can personalize the colors for each recipient to tailor each gift to their preferences.
2. Cut The String For Each Segment
1. Main Fishtail
Cut a 13-inch length of wax thread for each chosen color. You should use between 5 and 7 distinct colors to help distinguish the pattern. Then, divide each 13-inch strand in half. Therefore, you should have ten (10) and fourteen (14) strands of 6.5-inch material remaining.
2. End Cap
Cut two (2) 7-inch strands of wax string’s chosen color(s). These end covers will give your bracelet a more substantial appearance and make the fishtail pattern appear more continuous.
Drawstring Tails.
- Cut two (2) 8-inch strands of whatever color(s) wax string you desire. You can pull these bracelet tails to modify the bracelet’s size.
- Sliding Knot Closure
- Cut one (1) 4-inch strand of the desired color of wax string. The tiny knot holds the bracelet’s drawstrings together and enables you to adjust its size.
3. Add A Drawstring Tail & Secure With An End Cap
Gather together all of your Main Fishtail threads. There should be two strands of each color; hold them together to be uniform.
Please take one of the Drawstring Tails and bind it into a knot approximately half an inch from the end of the Main Fishtail bundle. Ensure the extremities of the drawstring are mostly even.
Next, take one of the End Cap strings and tie a knot just below the Drawstring Tail knot around the Main Fishtail bundle.
Flip the Main Fishtail bundle over and align the Drawstring Tails with the Main Fishtail bundle’s short ends.
Wrap the End Cap string in a second tie around the Main Fishtail. Flip the Main Fishtail bundle over once more and secure a double knot with the End Cap string at the end of the Main Fishtail, covering the Drawstring Tail knot. Ensure the Drawstring Tails are still positioned up and out of the way. Repeat turning the bundle over and tying End Cap knots until only 1/4′′ of the Main Fishtail strings remain.
Place the Drawstring Tails below the remaining Main Fishtail threads out of the way.
Carefully ignite the ends of the Main Fishtail with a lighter or candle to reduce the length of the string until it reaches the End Cap knot.
Return the Drawstring Tails to their original position after the Main Fishtail bundle. Trim the extremities of the End Cap strings to 14 inches and melt the line with a lighter or candle. It would be best if you did not dissolve the End Cap itself.
4. Create The Main Fishtail.
Cut your string in half so that the colors are evenly distributed. Organize the colors into the desired pattern for the Fishtail.
Move the right-most string toward the center and add it to the left-hand string group. Next, move the left side’s outermost line toward the center and add it to the string group on the right. Because the string is wax-coated, it will “stick” in the position you hold it, preventing you from readily losing your place.
Repeat this process of moving the outermost string from the right to the middle, then moving the outer string from the left to the center until the Main Fishtail measures 4 inches long.
5. Add A Drawstring Tail & Secure It With An End Cap
Knot one of the Drawstring Tails approximately 1.5 inches from the end of the Main Fishtail bundle. Ensure the extremities of the drawstring are mostly even.
Next, take one of the End Cap strings and, as in Step 3, tie a knot around the Main Fishtail bundle just below the Drawstring Tail knot.
Flip the Main Fishtail bundle over and align the Drawstring Tails with the Main Fishtail bundle’s short ends.
Wrap the End Cap string in a second tie around the Main Fishtail. Flip the Main Fishtail bundle over once more and secure a double knot with the End Cap string at the end of the Main Fishtail, covering the Drawstring Tail knot. Ensure the Drawstring Tails are still positioned up and out of the way. Repeat turning the bundle over and tying End Cap knots until the string is too short to connect any more End Cap knots.
Place the Drawstring Tails down, away from the remaining Main Fishtail strings, and trim the Main Fishtail ends to a length of 1/4 inch.
Ensure that the two Drawstring Tails are clear of the Main Fishtail strings, and trim the Main Fishtail strings.
Carefully ignite the ends of the Main Fishtail with a lighter or candle to reduce the length of the string until it reaches the End Cap knot.
Remove the Drawstring Tails from the End Cap tail strings’ path. Trim the extremities of the End Cap strings to 14 inches and melt the line with a lighter or candle. It would help if YOu did not dissolve the End Cap itself.
6. Secure The Tail Of The Drawstring
Hold one of the Drawstring Tails on one side of the Main Fishtail in a gentle spiral in the direction it would naturally travel. Repetition with the second Drawstring Tail is required.
Holding both twisted strands tautly together, release the Main Fishtail so that the two halves of the drawstring will twist together to form one more muscular tail.
Knot the end of the Drawstring Tail, leaving about 1/4 inch of length. You can add beads to the ends if you so choose. Light the lots of the drawstring tail with your lighter/candle to melt the string down but not dissolve the knot.
On the opposite end of the Main Fishtail, repeat.
7. Add A Sliding Knot Closure.
Place the bracelet on a flat surface and overlap the two Drawstring Tails. Tie a knot around each Drawstring Tail using the sliding knot closure string.
Create the sliding knot closure by tying 4-5 square knots around the two Drawstrings.
Light the ends of the Sliding Knot Closure with the lighter/candle until just before tying the sliding knot to secure everything.
You can customize these bracelets’ colors, making them ideal for giving as a present. I adore the appearance of the fishtail motif.
Crafting a fishtail friendship bracelet requires selecting colorful strands, aligning them, and tying them in a distinct pattern. You create a unique, woven design by alternating left and right knots with multiple strands. You can fashion gorgeous and meaningful bracelets to share with friends with practice and creativity.
Thank you for reading…