If you need a pretty paper star quickly, you can learn how to create one from a single sheet of paper with the help of this photo tutorial. This easy-to-fold origami star with five points is also identical on both sides, making it an ideal origami hanging decoration. So, how do you fold paper into a star without cutting?
The star in the photo is made from thick gold paper; you can find similar pieces on Amazon or in craft stores, but you can use any paper you like. Wrapping paper is an excellent substitute for origami paper.
Children can fold this origami star with assistance; however, there is an even simpler origami star that small children will have no trouble with.
What You’ll Need
- One piece of origami paper
Directions
Here are the steps to make a paper star:
1. Fold a triangle
- Start with the white side facing up.
- Fold the upper point of the paper to the bottom end and create a crease.
- Fold the point at the top left to the right and crease it.
- Fold the rightmost point of the triangle to the lower end.
- Ensure that both layers are folded.
2. Crease and unfold
- Rotate the paper so that the top point is at the top and the bottom left point is where the bottom left end of the star is.
- Fold the two layers you folded down to the right and place them where the star’s upper right point will be.
- Could you fold the paper after creasing it well?
- Accessible Origami Star Model No. 3
- Make the Mountain Fold
- Also, unfold the rear.
- Transform the diagonal crease into a mountain fold.
- Now is the time to destroy the star. While pushing the left and right points in, fold the top behind them.
- You will wind up with a shape that resembles a cat’s face.
3. Create the Points
- You should crease it well, and both sides should be the same.
- Examine the area underneath.
- The two interior panels must overlap.
- Turn the front flap into the star’s lower left corner. I was folding it to the left and creasing it effectively.
4. Finish Your Origami Star
- Flip the star to the opposite side and fold the bottom left point similarly.
- There is a membrane that does not appear to belong.
- Fold the flap’s two layers over and behind to conceal it and secure the star.
- Repeat on the opposite side, and your origami star is finished!
Method 2: How Do You Fold Paper Into A Star Without Cutting?
DIY Paper Stars.
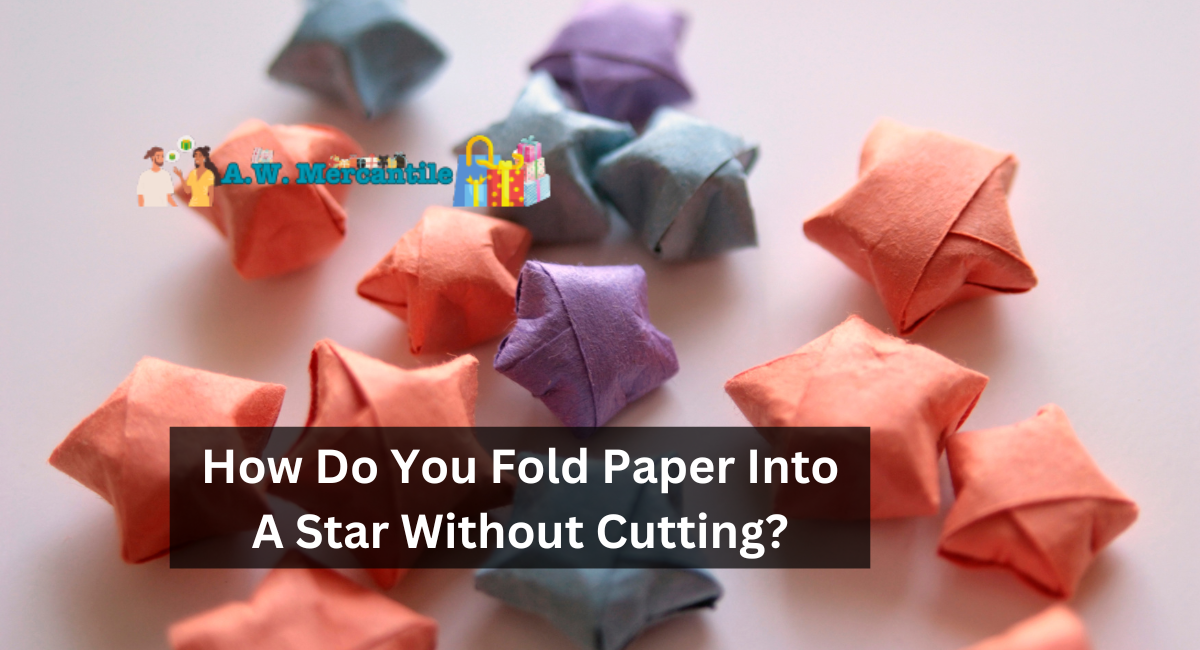
Origami fortunate stars (wishing stars) are believed to bring good fortune when folded and even more when given away. Fold one hundred of them and give them to a friend, who will be granted a wish. In either case, they make a beautiful gift when placed in a jar or dish.
Strips of Origami Star Paper.
Each star is made from a paper strip measuring approximately 10 by 14 or 12 inches. By altering the thickness of the strip, you can achieve various sizes.
The stars are more giant the denser the strip. The paper segments may have 1/4 inch, 1/2 inch, or 3/4 inch widths.
You made the stars in this tutorial from lengths of scrapbook paper measuring 12 by 1/2 inches. You may use any available form as long as it is lightweight (thin) and not cardstock. I have previously utilized magazines and even gift paper.
The Supplies:
- Star-shaped Origami Paper Strips / Wrapping Paper
You can make these stars from any paper you have on hand, including printer paper, sheet music, and old periodicals. These were created using scrapbook paper, which can be somewhat dense but still functions.
You can purchase pre-cut Origami Paper Star Strips or trim your preferred patterned paper into strips measuring 1/2 inch by 12 inches.
How Do You Fold Paper Into A Star Without Cutting?
- Start by looping one end of your paper strip around itself.
- Insert the short end through the loop and draw gently to form a knot.
- Be cautious not to rip the paper by pulling it too tightly.
- Make a pentagon-shaped impression by pressing the material smooth.
- Insert the paper strip’s short end into the knot.
- If the end is too long and does not fit, reduce it with scissors or move the knot closer to the strip’s end.
- Create a diagonal crease by wrapping the long edge around each side of the pentagon. It should proceed in the correct direction.
- Important tip:
- As neatly and securely as possible, wrap the strip and tie a knot to help make your puffy star even and sturdy.
- Continue until only a tiny tailpiece remains.
- Securely tuck the end of the paper strip into the coil.
- Now is the moment to blow up your star and score points. Compress the pentagon’s sides by pinching the star’s ends between your thumb and forefinger.
- Rotate and repeat for each point to create a puffed-up star. You can use your fingernail to press the margins inward to create sharper corners.
- This step may require some practice, but if you persevere, you should be able to create a star that puffs out flawlessly.
- Repeat until you have enough stars to fill a container or create a garland.
These fortunate paper stars are pretty addictive to make. It is an excellent method to keep your hands occupied while watching television. They make an excellent Christmas craft for the entire family and are beautiful holiday ornaments when used to decorate a Christmas tree.
Thank you for reading….